Top 5 tips for DIY bathroom renovation
June 1, 2024
How to Treat Mold in Bathroom
June 2, 2024Are you ready to transform your bathroom with a stunning new floor? Learning how to tile a floor in a bathroom can be a game-changer for your space. Whether you’re undertaking apartment renovations or working with a Melbourne builder, understanding the tiling process is essential for successful bathroom renovations.
Preparing Your Bathroom for Tiling
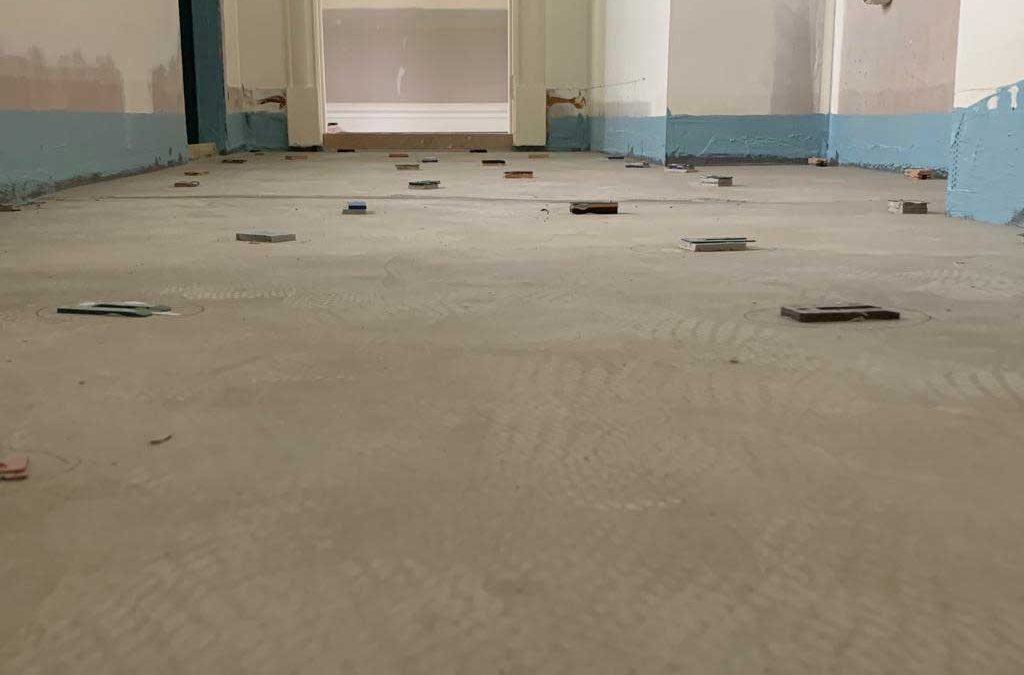
Before you begin tiling, it’s crucial to prepare your bathroom properly. Start by removing any existing flooring and ensuring the subfloor is clean, dry, and level. Any imperfections in the subfloor can affect the final look of your tile installation. Once the subfloor is ready, measure the area to determine the amount of tile and adhesive you’ll need for your renovations.
Choosing the Right Tiles
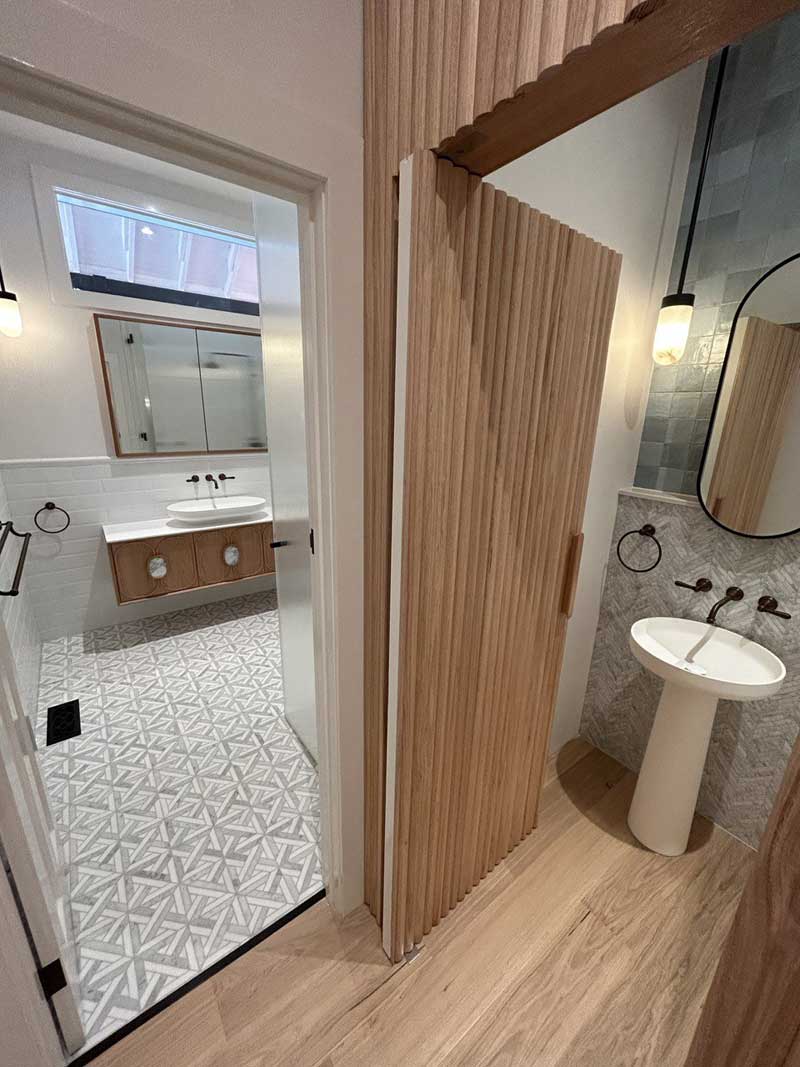
Selecting the right tiles is a critical step in your tiling project. Consider factors such as tile material, size, and design. Porcelain and ceramic tiles are popular choices for bathroom floors due to their durability and water resistance. Choose a design that complements your bathroom’s overall aesthetic and fits within your budget. Remember, a well-chosen tile can elevate the look of your bathroom.
Measuring and Planning Your Layout
Accurate measurement and planning are essential to avoid unnecessary cuts and ensure a professional finish. Begin by finding the center of the room and marking it with chalk lines. This will serve as a guide for laying your tiles. Dry-lay a few tiles along these lines to visualize the final layout and make any necessary adjustments. Planning your layout helps avoid small, awkward cuts at the edges of the room.
Applying Adhesive and Laying Tiles
Once your layout is planned, it’s time to apply the adhesive. Use a notched trowel to spread the adhesive evenly over a small section of the floor, starting from the center and working outward. Place the tiles onto the adhesive, pressing them firmly into place. Use tile spacers to maintain consistent gaps between the tiles for grout. Work in small sections to prevent the adhesive from drying before you place the tiles.
Cutting Tiles to Fit
During your tiling project, you will need to cut tiles to fit around edges, corners, and fixtures. Use a tile cutter or wet saw for precise cuts. Measure the area where the tile needs to fit, mark the tile, and cut it accordingly. Take your time to ensure accurate cuts, as poorly cut tiles can detract from the overall appearance of your bathroom floor.
Grouting the Tiles
After all the tiles are laid and the adhesive has dried, it’s time to apply the grout. Mix the grout according to the manufacturer’s instructions and use a rubber float to spread it over the tiles, pressing it into the gaps between them. Wipe away any excess grout with a damp sponge before it dries. Allow the grout to cure fully before walking on the floor or reinstalling bathroom fixtures.
Sealing and Finishing Touches
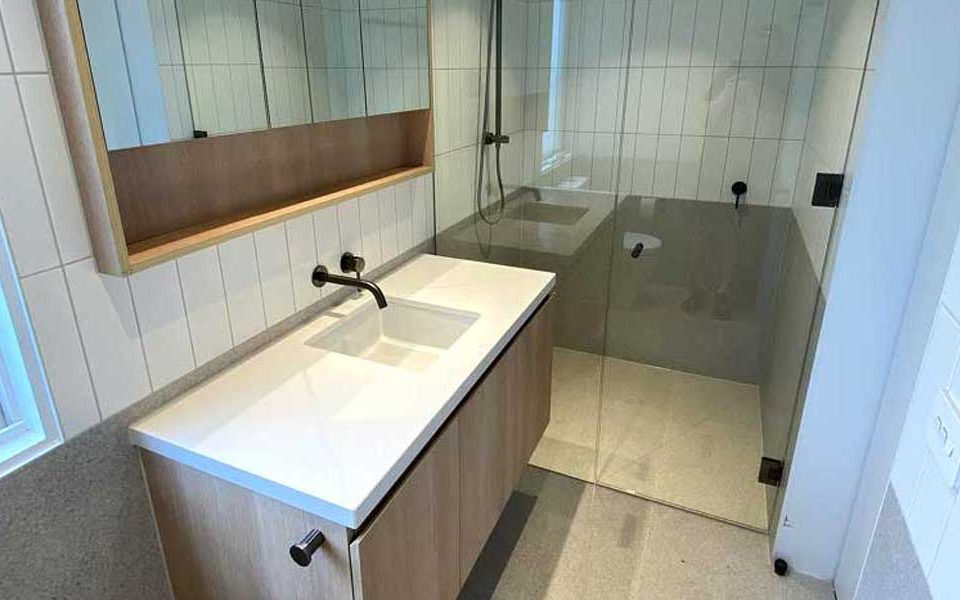
Sealing the grout is an important step to protect it from moisture and stains. Apply a grout sealer according to the manufacturer’s instructions and allow it to dry completely. Once sealed, you can replace any fixtures and enjoy your beautifully tiled bathroom floor. The finishing touches, such as baseboards and trim, will complete the look of your renovated bathroom.
Learning how to tile a floor in a bathroom can significantly enhance the appearance and functionality of your space. Whether you’re working on apartment renovations or collaborating with a Melbourne builder, following these steps will ensure a successful and professional result. From preparation to finishing touches, each step is crucial in achieving a stunning bathroom renovation. Take your time, plan carefully, and enjoy the transformation of your bathroom floor.


