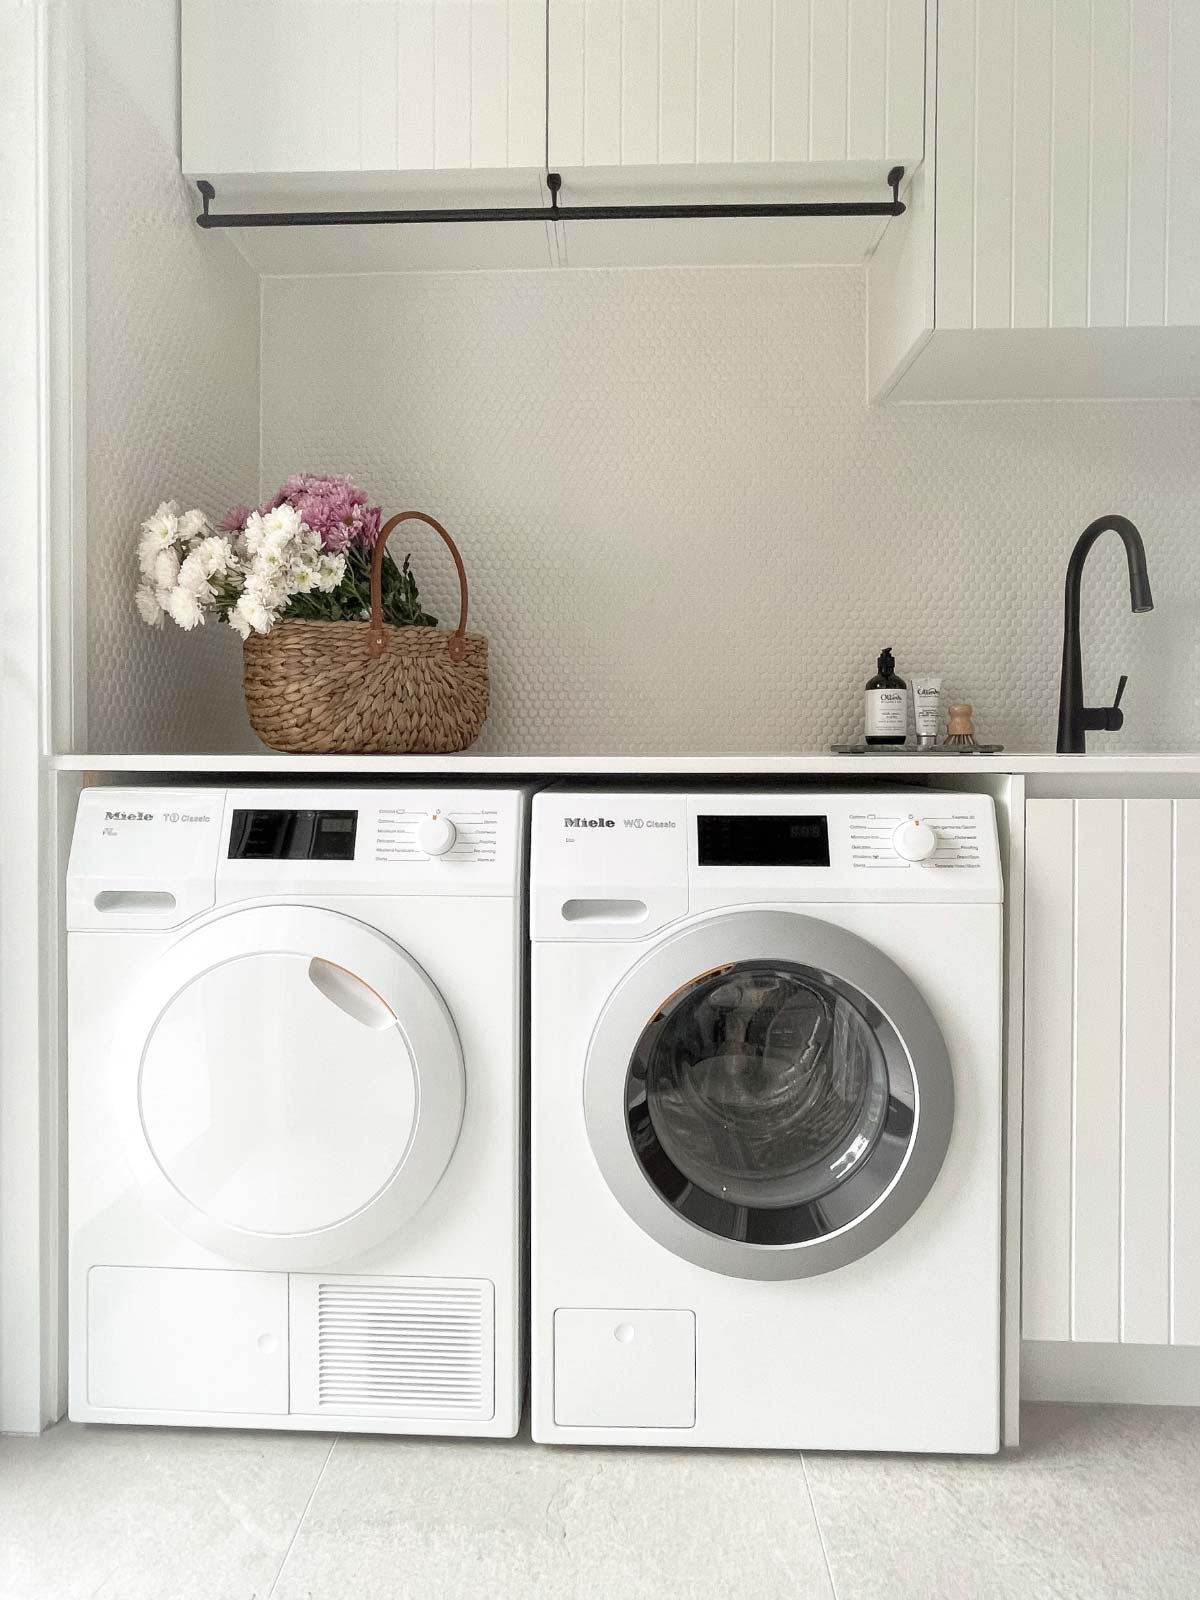
Three Useful Tips and Facts for Laundry Renovations in Melbourne
September 28, 2017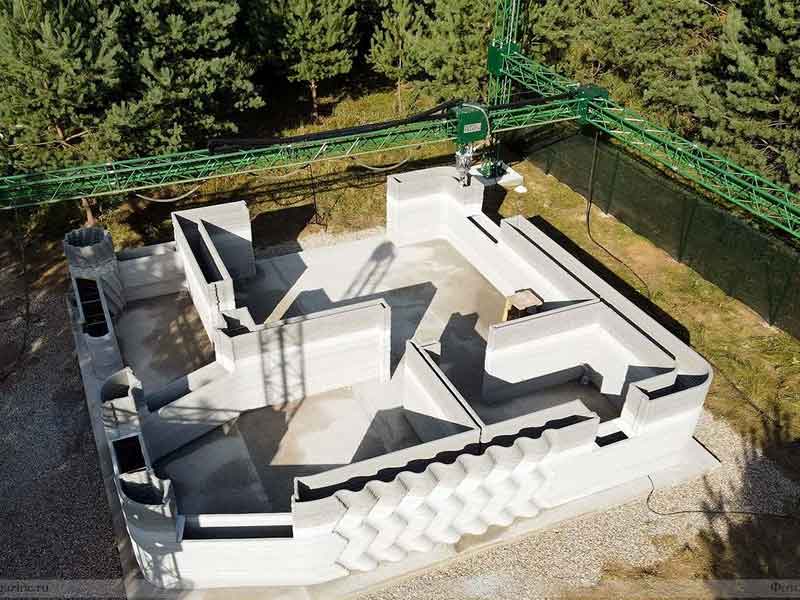
3D Printers for the Building Industry: Transforming Construction in Melbourne and Beyond
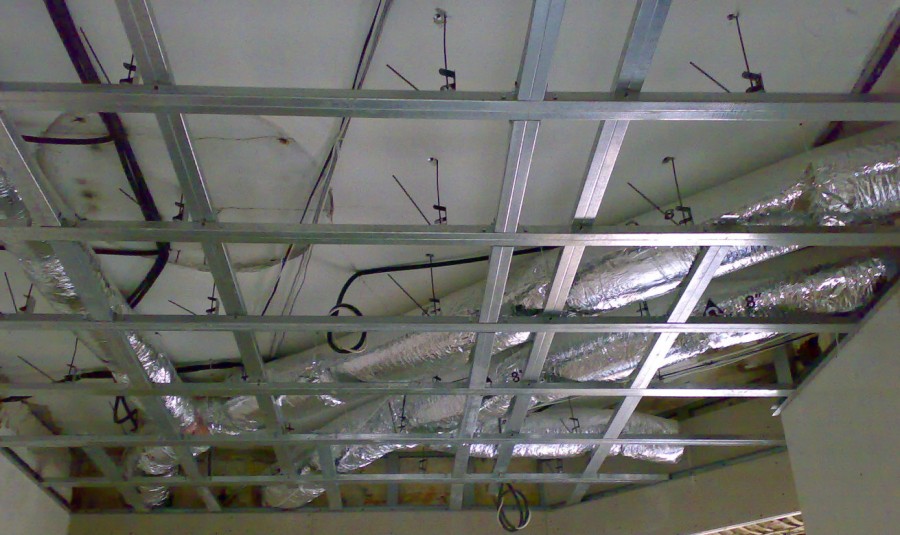
September 1, 2023When you are going through a house renovations project, you will come across the need to figure out how to put up plasterboards on walls. It is quite a popular option among people who are looking for a way to cover up exposed brick walls. You can put up plasterboards on walls on your own, without seeking the assistance of anyone else. Let’s deep dive and explore the steps that you should follow to get the job done.
Things you need
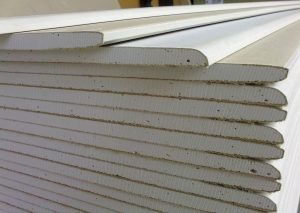
Before you proceed with bathroom renovations or any other project to put plasterboards on walls, you need to understand the supplies needed. It is important to have masonry adhesive, 10mm plasterboard sheets, and cornice to match existing wall. Along with that, you will also need to have a broad knife, straightedge, mixing paddle, drill and bits, old chisel, cornice mitre box, plasterer’s towel, cornice cement, paper jointing tape, wallboard saw, handsaw, chalk line, base coat, plasterer’s tool, internal corner tool, finishing compound, dust mask, sanding float, 150-grit sandpaper, 30mm nails, and construction adhesive.

Steps to follow
Once you are ready, let’s explore the steps that you will need to follow to get job done. As the very first step, you will need to remove skirtings from the walls. You can use a hammer or a knife to get the job done. You will also need to knock off remaining cornice cement from the wall and make sure that the surface is smooth. If there are any other fittings on the wall, you should get rid of them as well.
Attaching the sheets
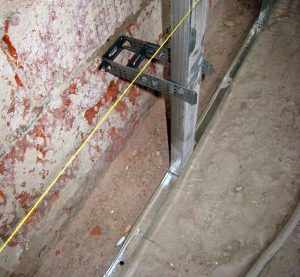
The next step of your kitchen renovations or home renovations project would be attaching the sheets. This is where you will need to measure the overall length of the wall from the middle and bottom. Upon taking measurements to one sheet of plasterboard, you can go ahead and draw a cutting line on the face. Then you should cut the sheet by scoring along the cutting line. You should next bend the sheet until the moment it will snap. Then you can run a knife along the side of plasterboard sheet and cut it. Likewise, you can cut multiple plasterboard sheets to cover the wall. You need to cut all the sheets before you go ahead and apply adhesive to the walls.
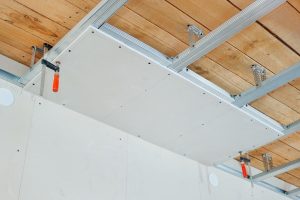
Now you can prepare the masonry adhesive and get the thick paste. You should apply this thick paste on the walls, with a thickness of around 15mm. Now you can start pressing the sheets against the wall. You can seek the assistance of a long straightedge in order to make sure that the sheet face is flat. You will also need to make sure that the tops of all sheets that you use are flush. Since you have cut sheet, all you have to do is to go ahead and attach them onto the walls. You will need to aim in order to stagger the sheet joins. Likewise, you should make sure that there aren’t any slide sheets along the adhesive blobs as you continue to apply the sheets.
Installing cornice
Now you are done with installing the sheets. Hence, you can proceed with installing cornice. This is where you should be mindful about the cutting angles on cornice. You can get a cornice with a length of 400mm and place that within a cornice mitre box. Then you can proceed with cutting cornice. An old handsaw can help you to get the job done. However, you should be careful to cut that at an angle of 45 degrees. Once you are done with cutting one cornice, you can take another small piece and cut that in the other way. Then you should hold the pieces together as they are sitting on the wall. You might not be able to get the job done in the very first attempt. Hence, you should be patient as you proceed.
You should also trim the existing cornice to join the new cornice. This can be done by placing the appropriate cornice template on the wall. This is one of the most time consuming processes that you will come across as you go through house renovations project. To get the job done easily, you may think about fitting the template to a corner and then continue trim until it fits perfectly well. You will also need to take measurements in between the adjacent walls, so that you can get the length of cornice. Then you should reduce around 3mm, so that you can get an easier fitting.
Now you can add water to cornice cement and create a thick paste. You shouldn’t create a lot of thick paste at a time, as it tends to set quickly. Hence, you should only prepare enough paste to attach one length of cornice at a time. Then you can proceed with your bathroom renovations or kitchen renovations project, without a struggle. This will leave behind a bead of cement of around 15mm to 20mm. It is also important to put a little at the ends, where it would join.
As the last step of attaching cornice, you should life cornice into its position. Then you will need to bend it at the middle, so that it would get the corners in first. You can now line up the bottom along with the help of a chalk line and then press it into the wall. This would make the cornice cement to ooze out. In case if it starts to sag, you will need to hold it into place with the help of temporary nails.
Finishing the job
Now you are almost done with attaching plasterboards onto your walls. In order to set the joints that exist in between the sheets, you will need to mix up the base coat and then continue to spread it along the joint. Then you will need to press paper jointing tape and create a wet compound. Then you can proceed with working on the way alongside the joint. Along with that, you can remove bubbles or wrinkles in tape.
You should also apply a coat of finishing compound that has a width of 300mm. This should feather edges up to the sheets you have. You can get the help of an internal corner tool, so that you can apply finishing compound into the corners. You should allow that to dry up to a period of 24 hours.
Next, you should focus on sanding. This is where you should get hold of the 150-grit sandpaper and wear a dust mask. Once you are ready, you can go ahead with smoothening the surface. Once you are done with sanding, you should remove the dust, and paint that with the help of a sealer undercoat. You may think about applying a second coat as well.
To complete the job, you may apply a construction adhesive to the skirtings and place them on the wall. Along with that, you may also attach 30mm nails in order to hold the skirtings into the plasterboard sheets, until the glue dries. If there are any fittings, you should replace them as well.


